A few weeks ago I gave you an overview about what's next for SnipNotes. A new big update is well on its way and will i.a. include support for custom categories, which help you with organizing your notes. This feature is already included in the latest beta release, you can sign up here to try it out. Today I want to give you a little more insight about how this feature is going to work.
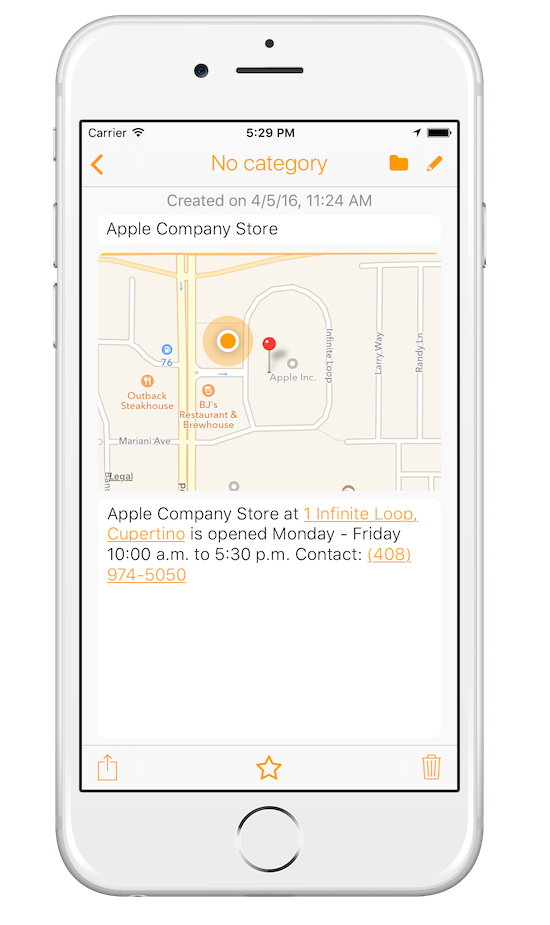
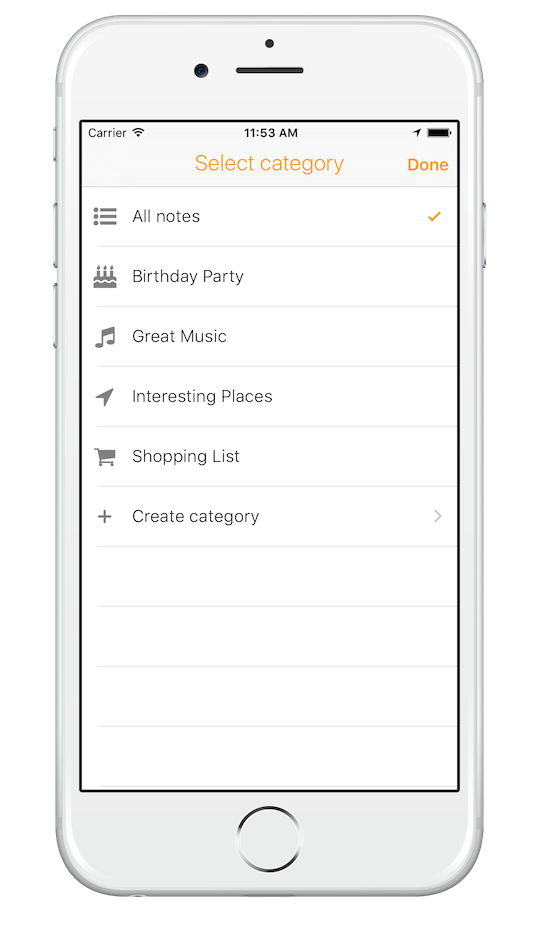
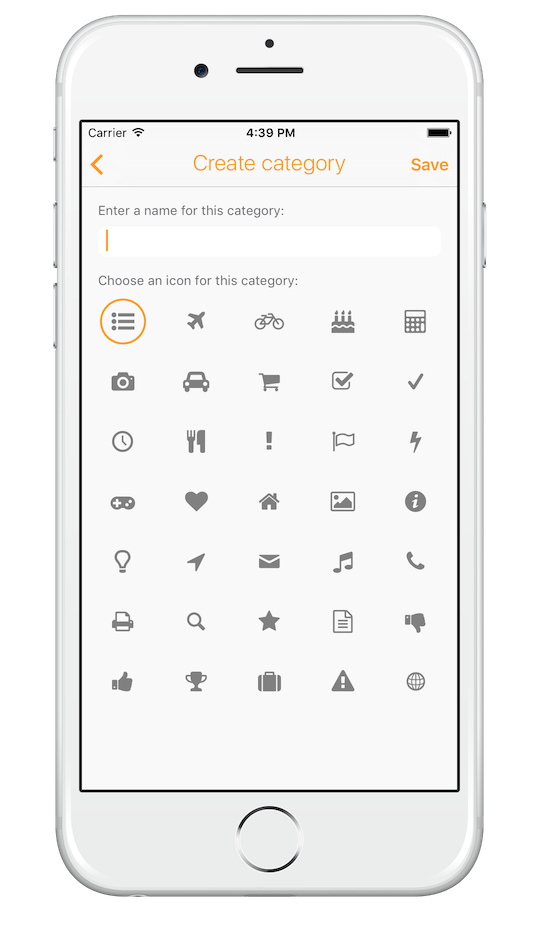
When you create a new note, there will be a little folder icon in the top right corner. Tap on it to open up the category picker. From here you can either choose an existing category or create a new one. "Create category" will open another view that lets you enter a name and select an appropriate icon for your category. Tap on "Save" and your new category will automatically be selected. Close the category picker. The category name will be displayed in the title bar of your note.

Note without a category

Choose a category

Create a new category

Note in category "Interesting Places"
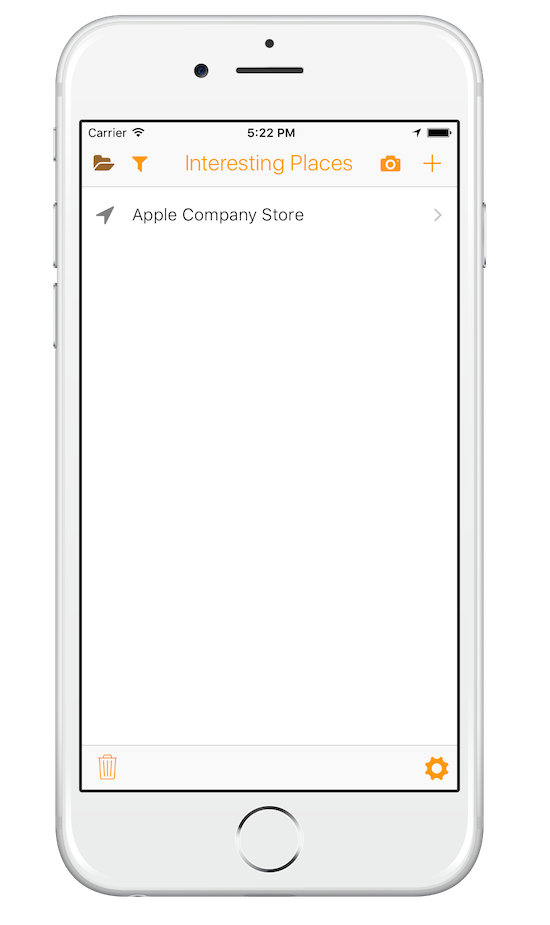
Go back to the list view and tap on the folder icon in the upper left corner. A category picker opens, that looks very similar to the first one. But this time you don't assign a category, but choose one for display instead. Select your category and tap on "Done" to view just your notes in that category.

Notes in category "Interesting Places"
The category picker also allows you to edit or delete categories. Swipe left on a category to reveal those options. When you delete a category its containing notes will not be deleted, but move back to the default "no category" instead.
Sign up for the beta test to try this feature and more today. Thanks for reading!